Facebook Twitter Instagram
    • Home
    • About Us
    • Tutorial
      • Graphics Design
        • Photoshop
        • Illustrator
      • AutoCAD
      • Web Design & Development
      • Freelancing
      • Business
      • Trouble Shooting & Networking
      • Digital Marketing
      • Other
    • Videos
    • Contact Us
    Facebook Twitter Instagram Pinterest Vimeo
    learner24
    • Home
    • About Us
    • Tutorial
      • Graphics Design
        • Photoshop
        • Illustrator
      • AutoCAD
      • Web Design & Development
      • Freelancing
      • Business
      • Trouble Shooting & Networking
      • Digital Marketing
      • Other
    • Videos
    • Contact Us
    Subscribe
    learner24
    Home»Graphics Design»Make an Avatar with Adobe Photoshop
    Graphics Design

    Make an Avatar with Adobe Photoshop

    JahedBy JahedFebruary 10, 2015Updated:October 16, 2019No Comments2 Mins Read
    Share Facebook Twitter Pinterest LinkedIn Tumblr Reddit Telegram Email
    Avatar
    Share
    Facebook Twitter LinkedIn Pinterest Email

    “Avatar” is a simple word which means “descent, alight, to make one’s appearance”, and refers to the embodiment of the essence of a superhuman being or a deity in another form. Today we will try to design Avatar with well known photo editing application Adobe Photoshop.

    Avatar Making Process:

    1. Open Photoshop any version
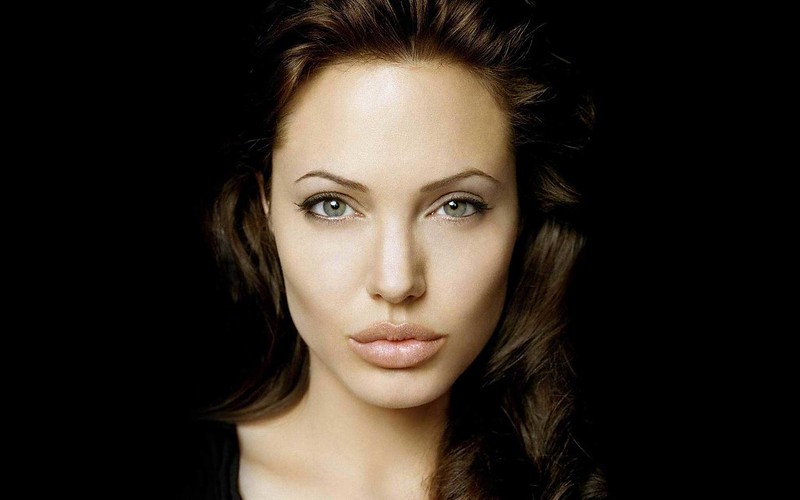
    2. Open the picture we need to enlarge the eyes to do this:
      angelina-jolie
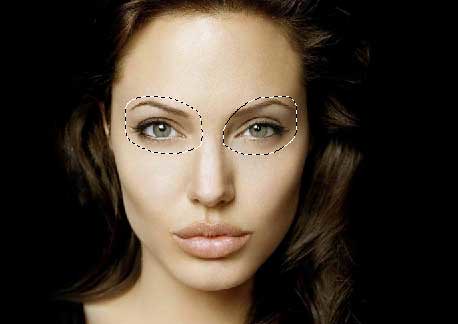
    3. Select the eye area for the both of eyes as shown below
      eyes-Selection
    4. Go to select Modify-Feather and set feather 15px copy the selected area and paste it in a new layer and name it eyes layer.
    5. Select the eyes layer go to Edit-Transform-Scale Drag outside holding the Alt key to enlarge the eyes.bigger-eye

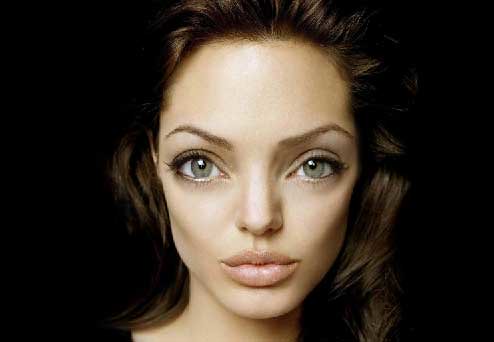
    Tips: we need to enlarge both eyes and have to place it perfectly.

    1. Select the face and neck area and save the selection, release the selection. We will use the selection later.face-selection

    Now again we have to do some work with eyes.

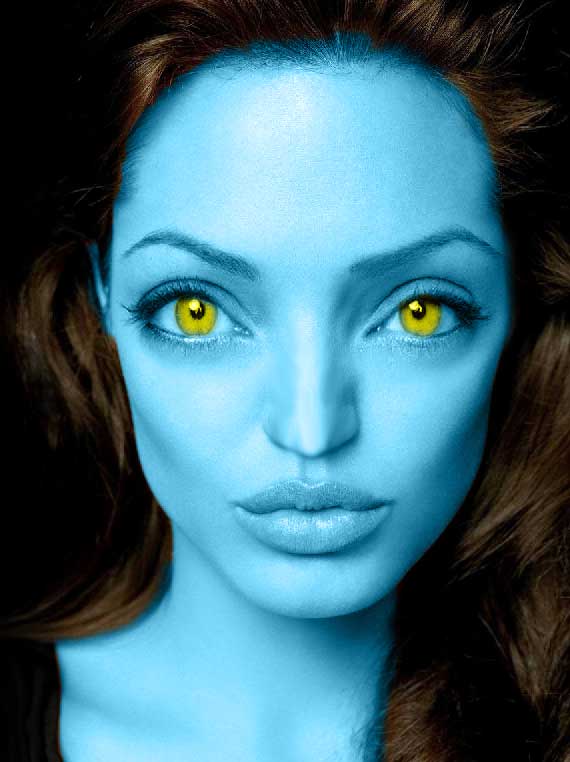
    1. Take a new layer select the brush tool set the size equal to eyeball. Set the foreground color to yellow #e0de13. Draw two new eyeball top of the current eyeball. Change the layer blend mood to color.

    Note: Adjust the size of new eyeball using brush tool.

    1. Make a selection of new eyeball and take curve adjustment layer. Give the following value:

    Output 128, Input 75

    1. Select the eyes layer & take a new layer name it blue color and load the selection which we have saved earlier at step-6. Put a blue color #076385.                                                                                                                               after-color

    Note: If necessary make some edit with brush & Erase tool.

    10.Download the tattoo and adjust to the face.                                                                11. You can use brush tool to add sparks on the face in a new layer.                                  12. Erase some area from the blue color and tattoo layer to highlight the original color leap.

    face-after-tattoo

    1. Use a brightness and contrast adjustment layer and set value Brightness (-64), Contrast 100.

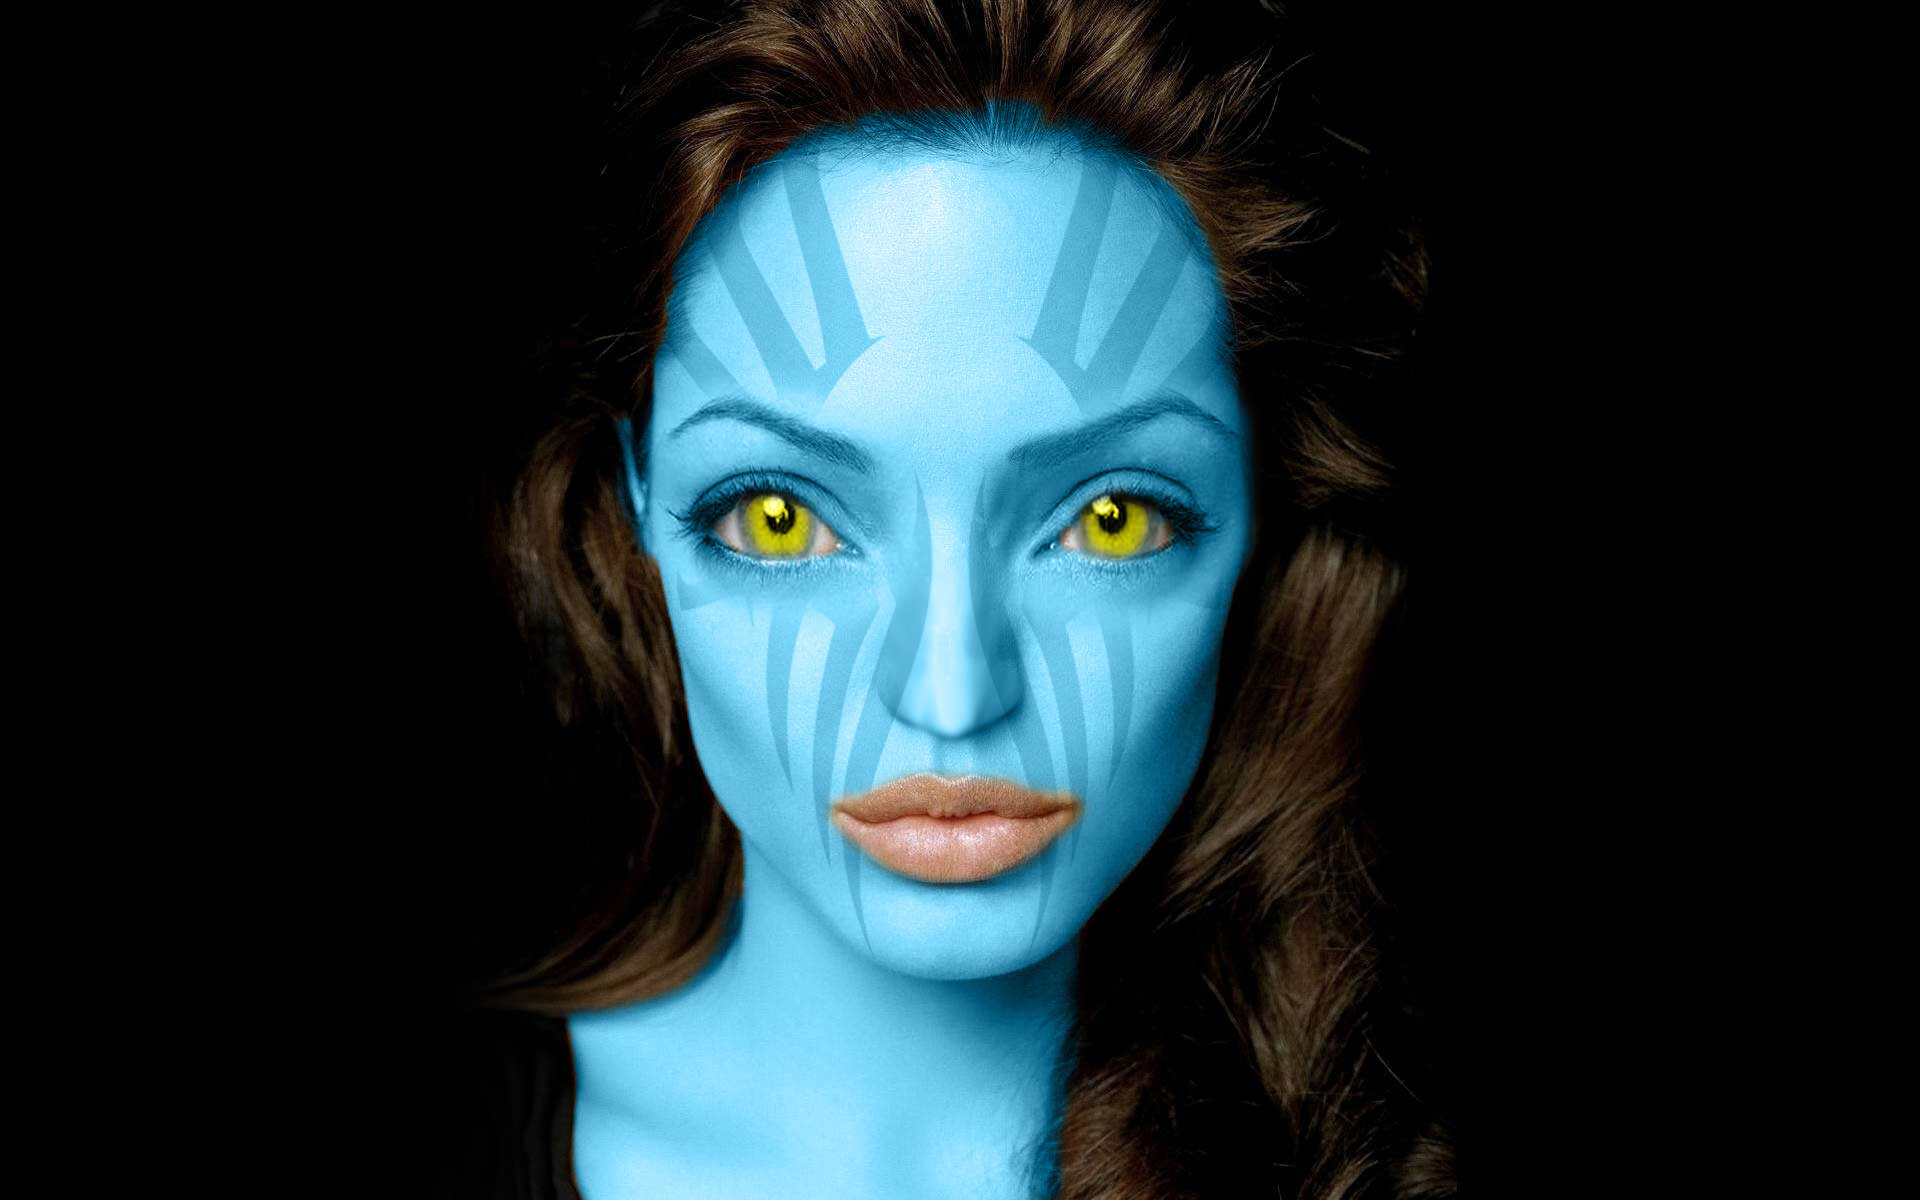
    Get the final image.

    https://www.flickr.com/gp/32341946@N05/4056vM


    adjustment layer brigh Brush contrast Face layer new layertness Tattoo
    Share. Facebook Twitter Pinterest LinkedIn Tumblr Email
    Previous ArticleWordPress Website Verify in Google Webmaster tool
    Next Article Web Site Design Basics : DTD & Meta Tags
    Jahed

      Related Posts

      Linux

      How to configure Network Information Systems

      October 27, 2019
      Linux

      How to recover lost data

      October 6, 2019
      Linux

      How to configure Dynamic Host Protocol

      October 6, 2019
      Add A Comment

      Leave A Reply Cancel Reply

      Facebook Twitter Instagram Pinterest
      © 2025 ThemeSphere. Designed by ThemeSphere.

      Type above and press Enter to search. Press Esc to cancel.